
What Order Should You Detail Your Vehicle In?
A satisfying detail is not about using every bottle you own. It is about doing the messy jobs before the finishing jobs, keeping grit away from paint and choosing only the treatments your vehicle needs.
For a routine exterior wash, think wheels and tyres, prewash, contact wash, rinse and dry. Assess the finish before adding anything else. Cars, vans and trucks share that logic, but materials, existing coatings and safe access still decide which products and methods are suitable.


Before you start: prepare the vehicle and your kit
Park safely, let hot surfaces cool and work out of direct sunlight. Read each label before opening a bottle. Keep wheel brushes, wash mitts and interior cloths separate, with clean drying towels ready. Never mix chemicals or let them dry on the vehicle.
On tall vans and trucks, use suitable equipment and stable access. Do not climb on tyres or stretch from an improvised platform. Avoid spraying directly into electrical equipment, damaged seals or sensitive openings.
1. Start with wheels and tyres
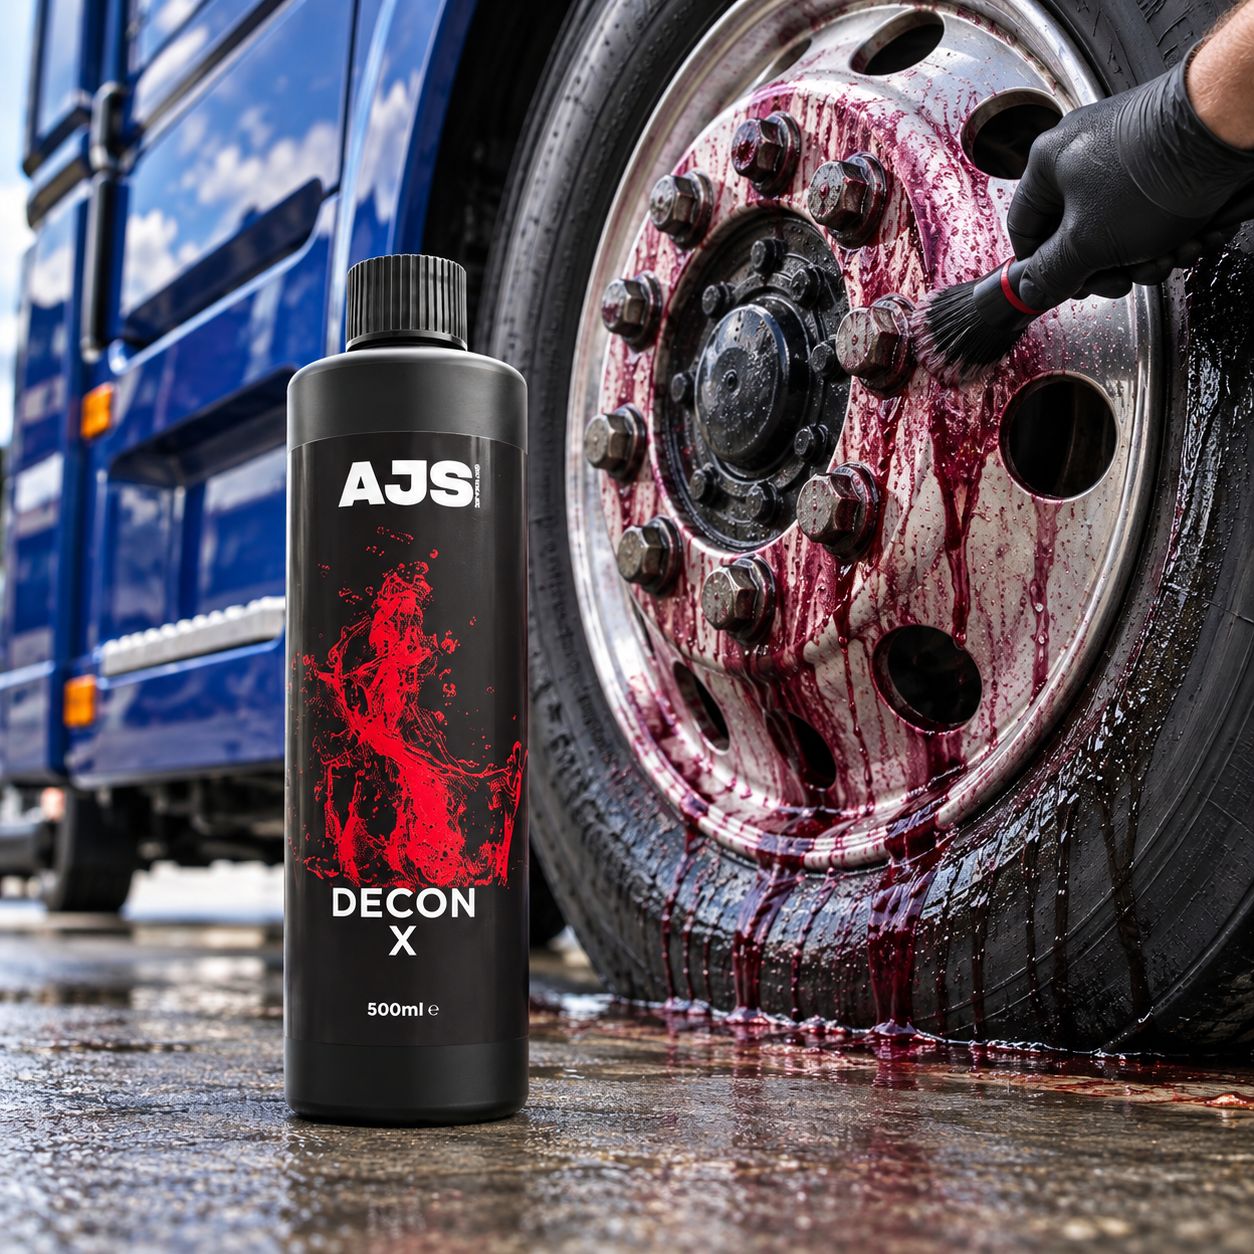
Wheel cleaning can splash dirty water onto surrounding panels, so tackle it before the body wash. Work one cool wheel at a time with dedicated tools, checking the finish is suitable.
Wheel Cleaner Decon X targets brake dust and bonded iron particles. Its advantage over a general wash product is that specific contamination removal role, not a claim that every wheel needs it every time. The listing specifies suitable clear coated wheels and paintwork, a dwell of 2 to 5 minutes without drying, and a thorough rinse.
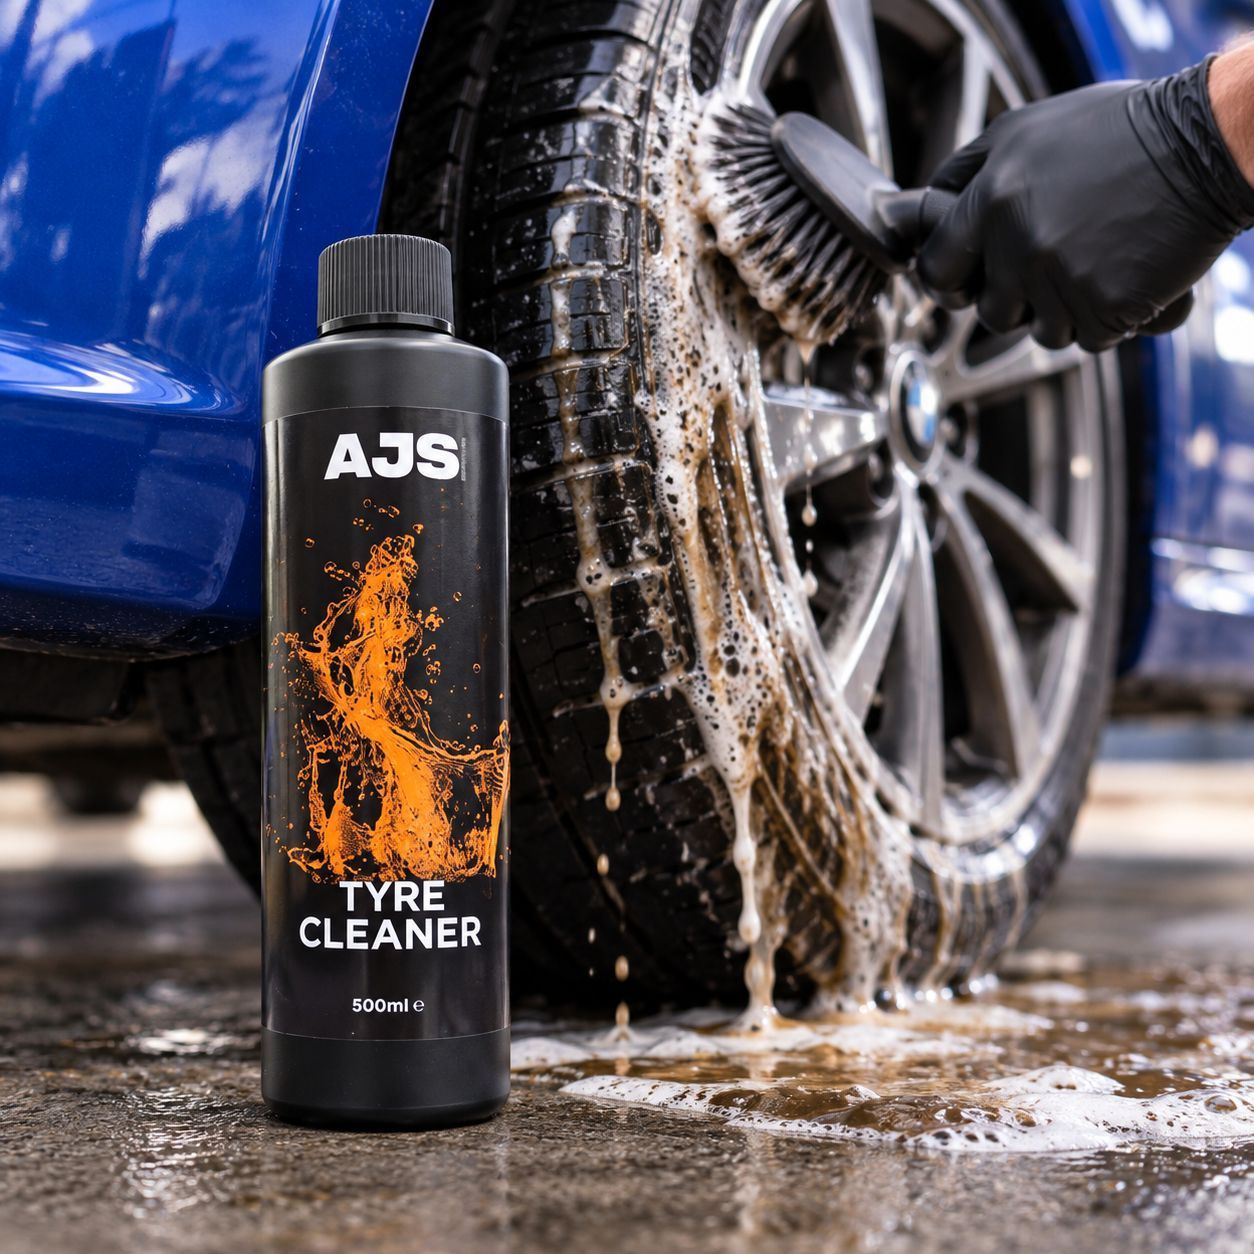
Tyre Cleaner belongs here too. Cleaning removes dirt before a separate dressing is considered. Dressing is not a substitute for that preparation.
2. Prewash before touching the paint
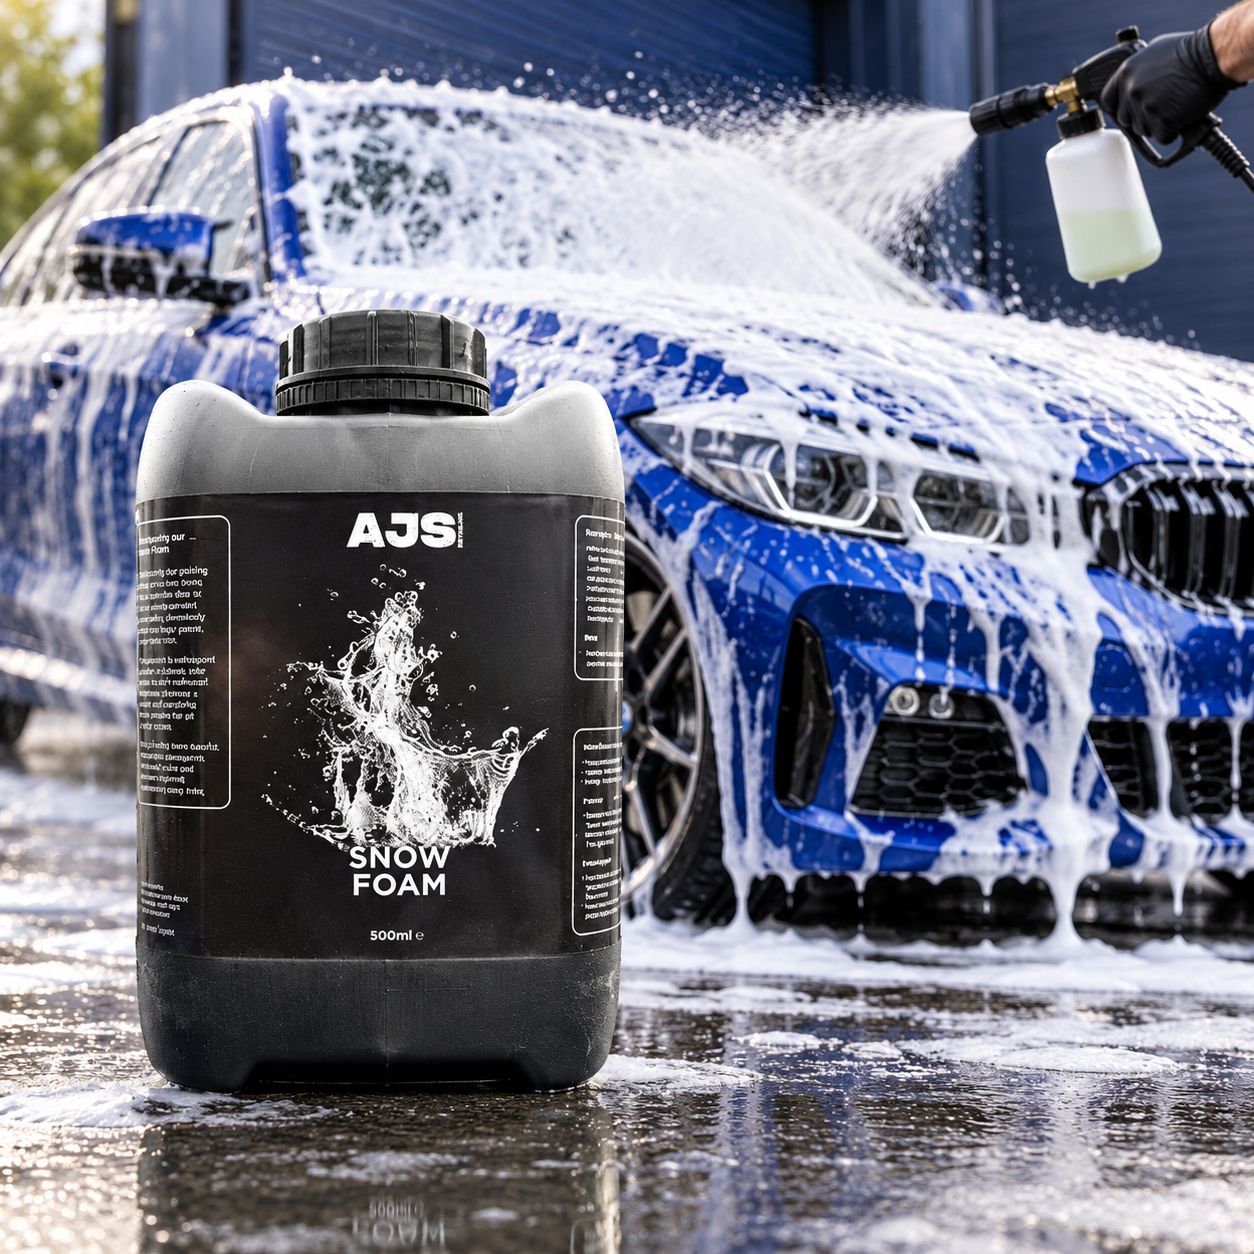
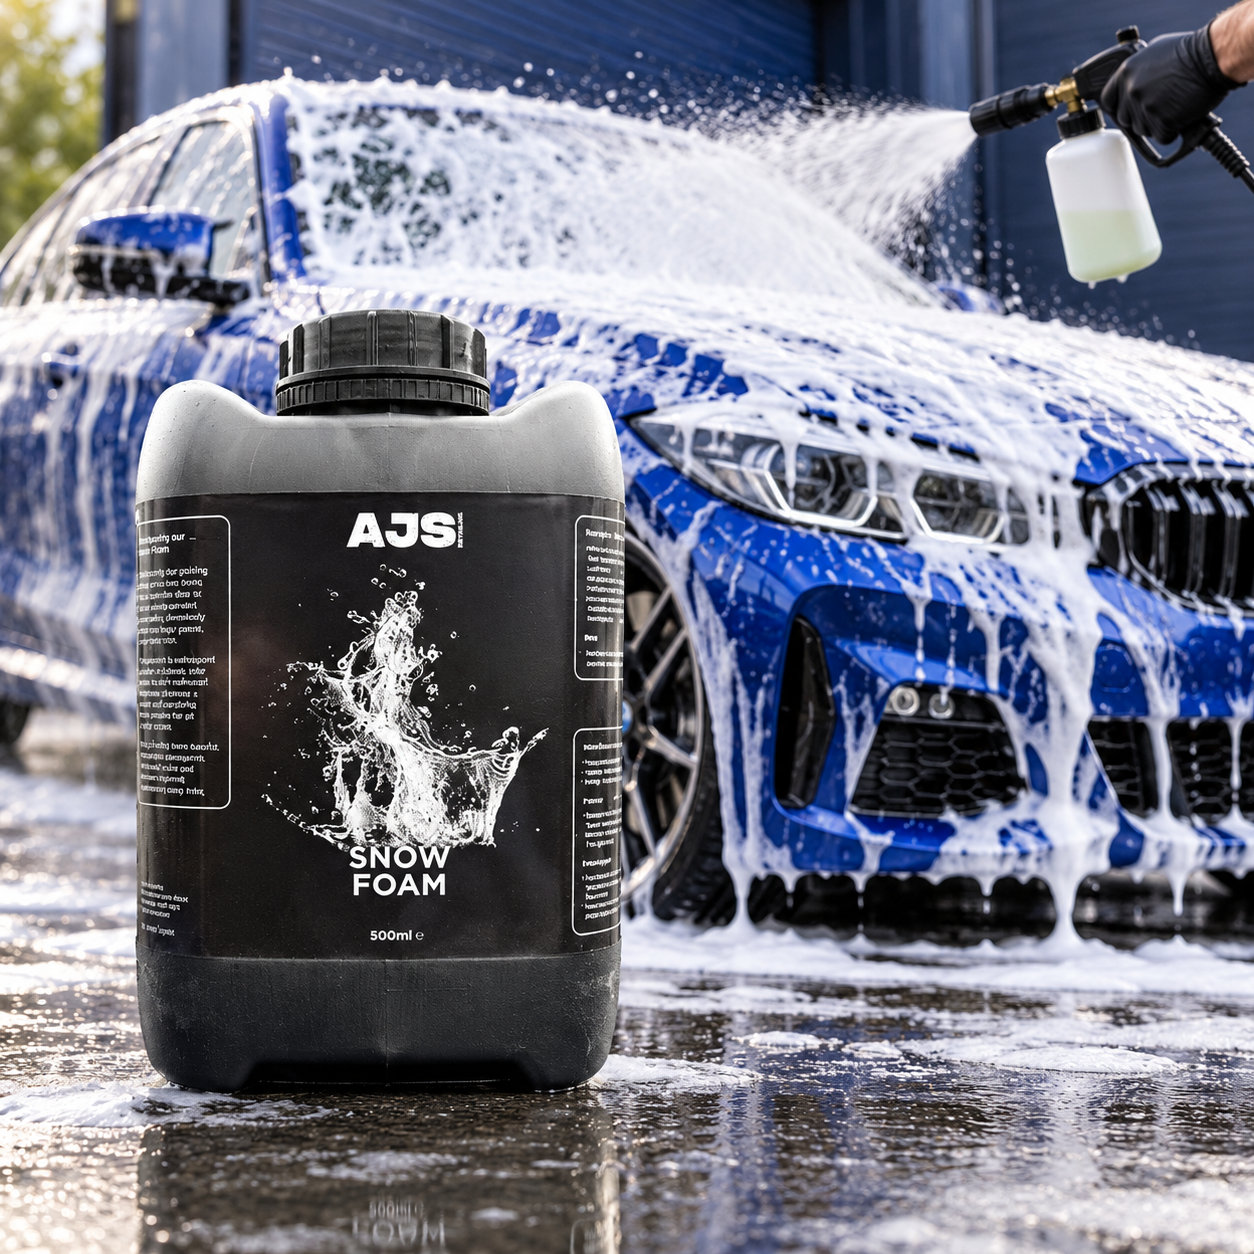
The aim is to loosen contamination before a mitt moves across the panels. Ultra Snowfoam is intended for this stage with a suitable foam lance or cannon. Its listing describes loosening road grime, traffic film and insect residue.
Follow its label dilution. The website directs application to a dry vehicle from bottom to top, 3 to 5 minutes of dwell without drying, then thorough rinsing. That application direction is different from the top to bottom contact wash that follows. Foam helps prepare the surface; it does not automatically replace shampoo and careful washing.
3. Contact wash, rinse and dry
Use a suitable vehicle shampoo at its stated dilution and a clean wash mitt. Work from upper panels towards dirtier lower areas, rinsing the mitt frequently so collected grit is not carried around the vehicle. Leave heavily soiled lower sections until last and do not reuse wheel tools on paint.
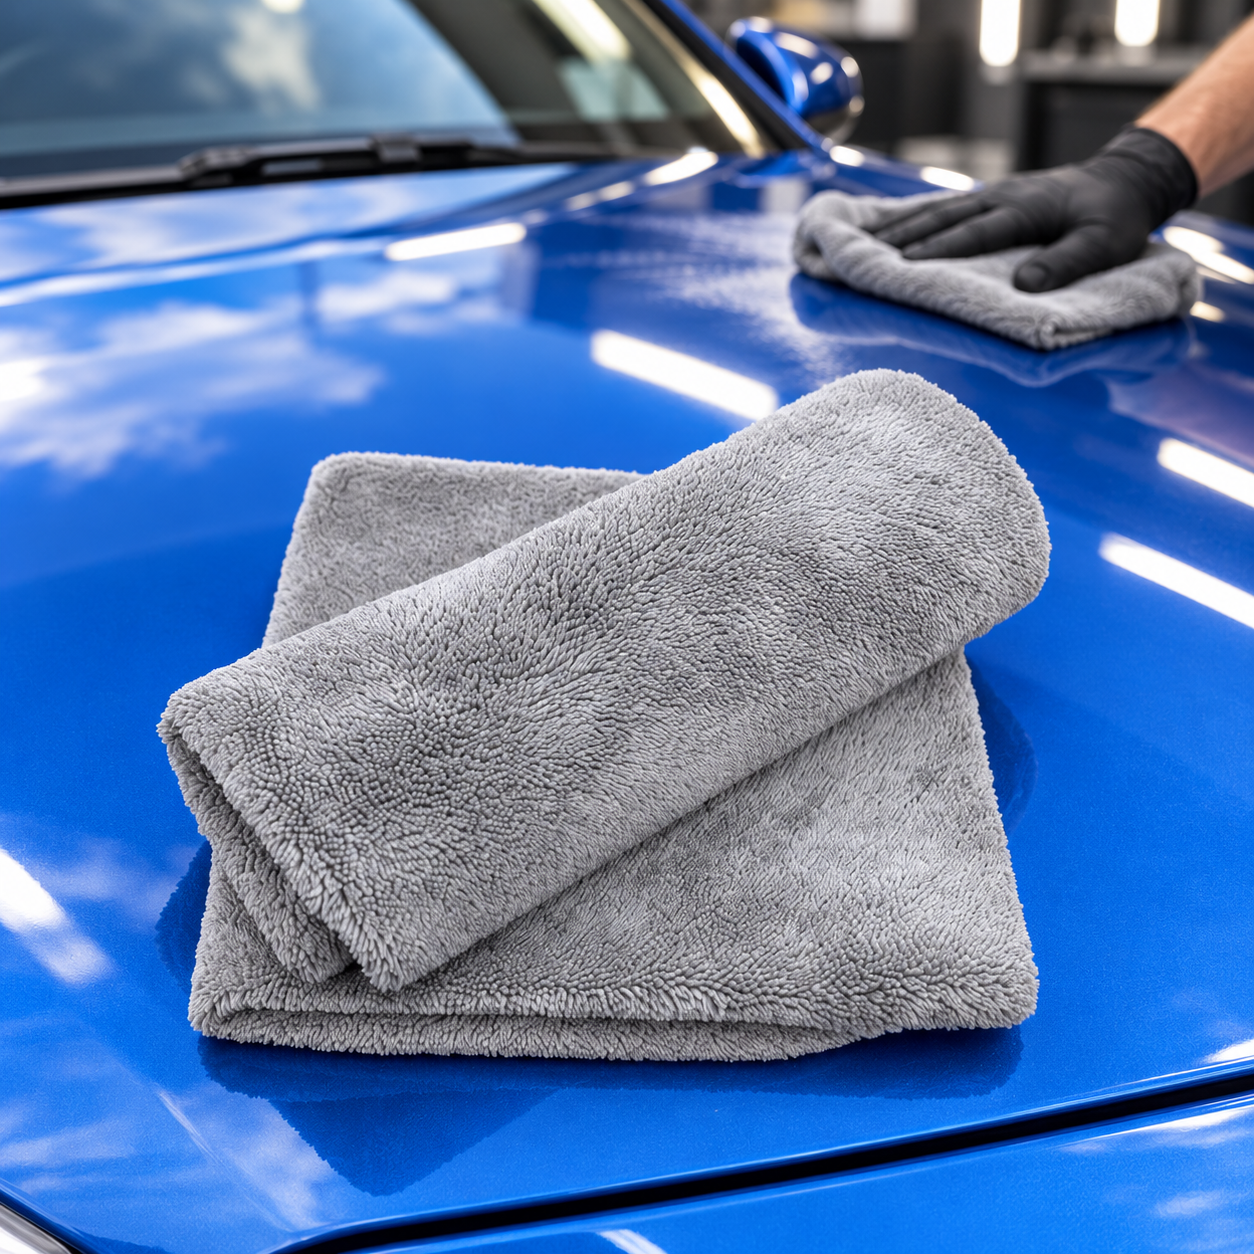
Rinse away shampoo and loosened dirt, then dry gently with clean, suitable towels. If you find a dirty patch, clean it properly rather than rubbing it with the drying towel. A routine wash can finish here if the existing protection needs nothing further.
4. Decide whether extra preparation is needed

Bonded contamination and paint defects are different problems. An iron remover targets suitable metallic contamination; it does not correct scratches. Clay and polishing are not compulsory weekly steps and can introduce marks or remove material if used poorly.
Choose decontamination only where needed and suitable. Follow instructions for any additional rinsing or washing, then dry before polishing. Correction belongs before protection, with paint condition and experience guiding the method. Stop and seek specialist advice for uncertain finishes rather than experimenting with stronger chemicals or abrasives.
5. Protect prepared paint and finish the tyres
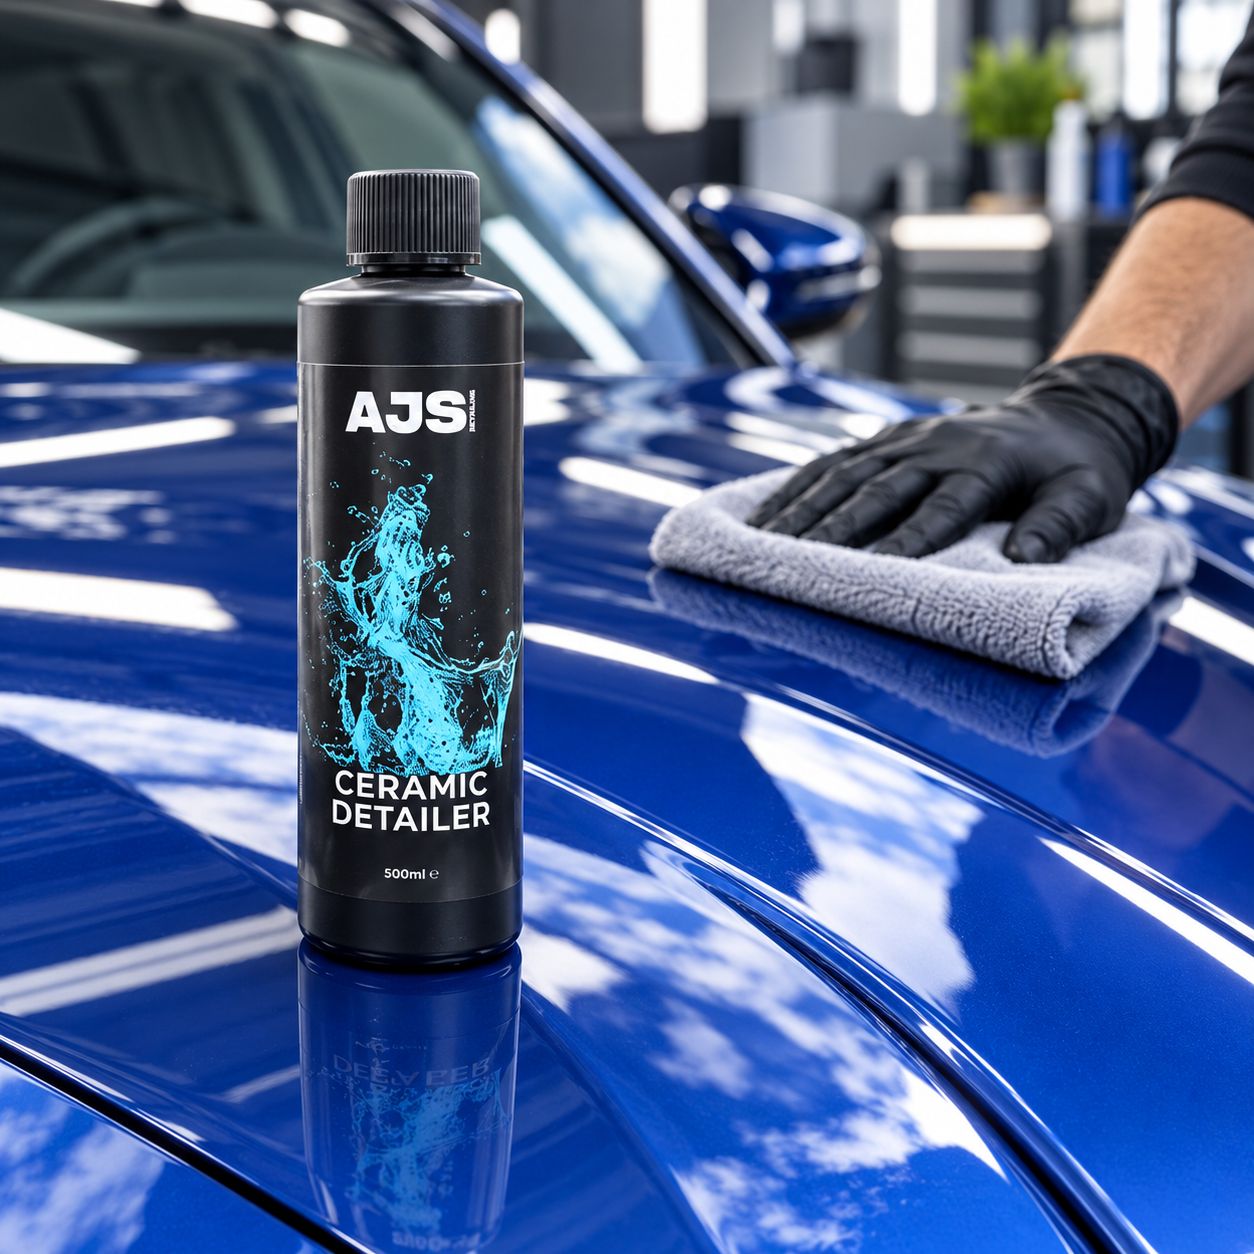
Ceramic Detailer is the current product name. Its listing describes gloss, colour depth and water beading. It starts on clean, dry panels: mist lightly onto the panel or cloth, spread evenly and buff with a fresh microfibre towel. Check the label for surface suitability and compatibility with existing protection.
Unlike a polish used for correction, this is a finishing and protection step, not a way to remove defects or wash away grit. Do not assume the word ceramic means a permanent coating or a particular protection lifespan.
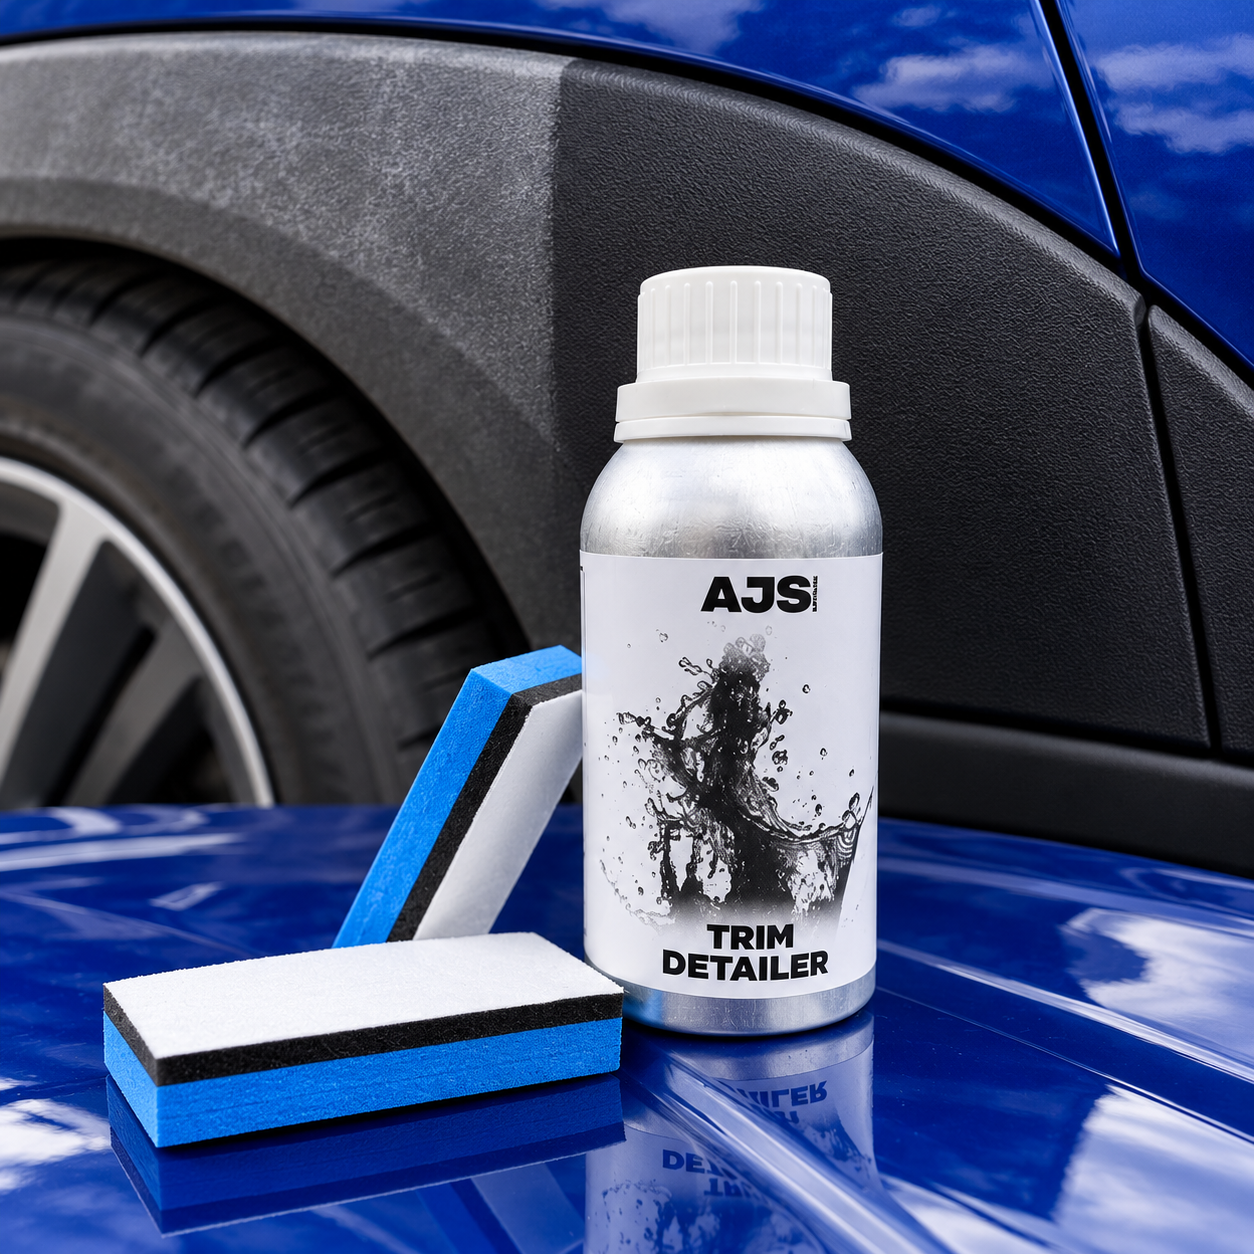
Apply Tyre Dressing only after tyres are clean and completely dry. Its water based formula offers a satin sheen with extra layers for more gloss. Use it on sidewalls only, away from tread and braking surfaces, and allow it to cure before driving.
6. Give the interior its own sequence

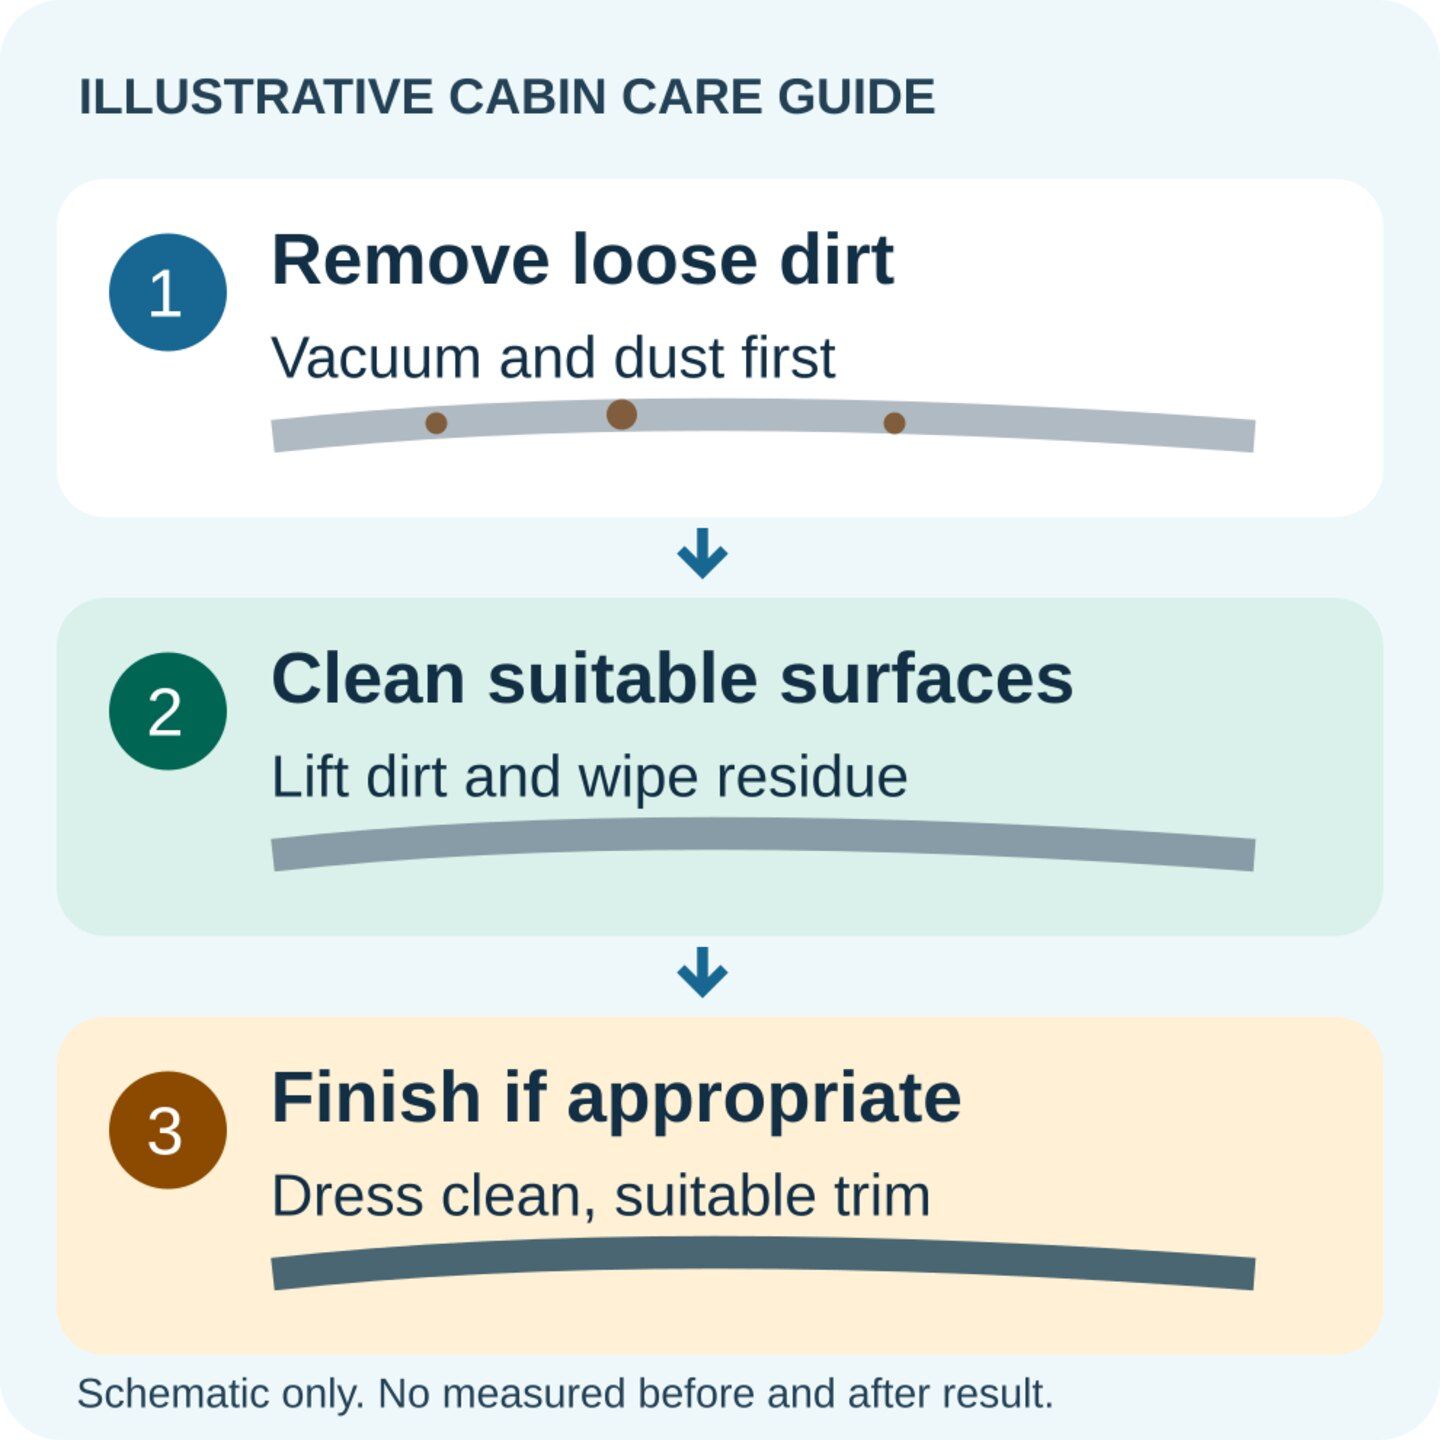
Clear rubbish and remove mats, then vacuum seats, crevices and floors before wet cleaning. If the cabin is especially dusty, do that dry work before the exterior wash, with doors shut before rinsing outside.
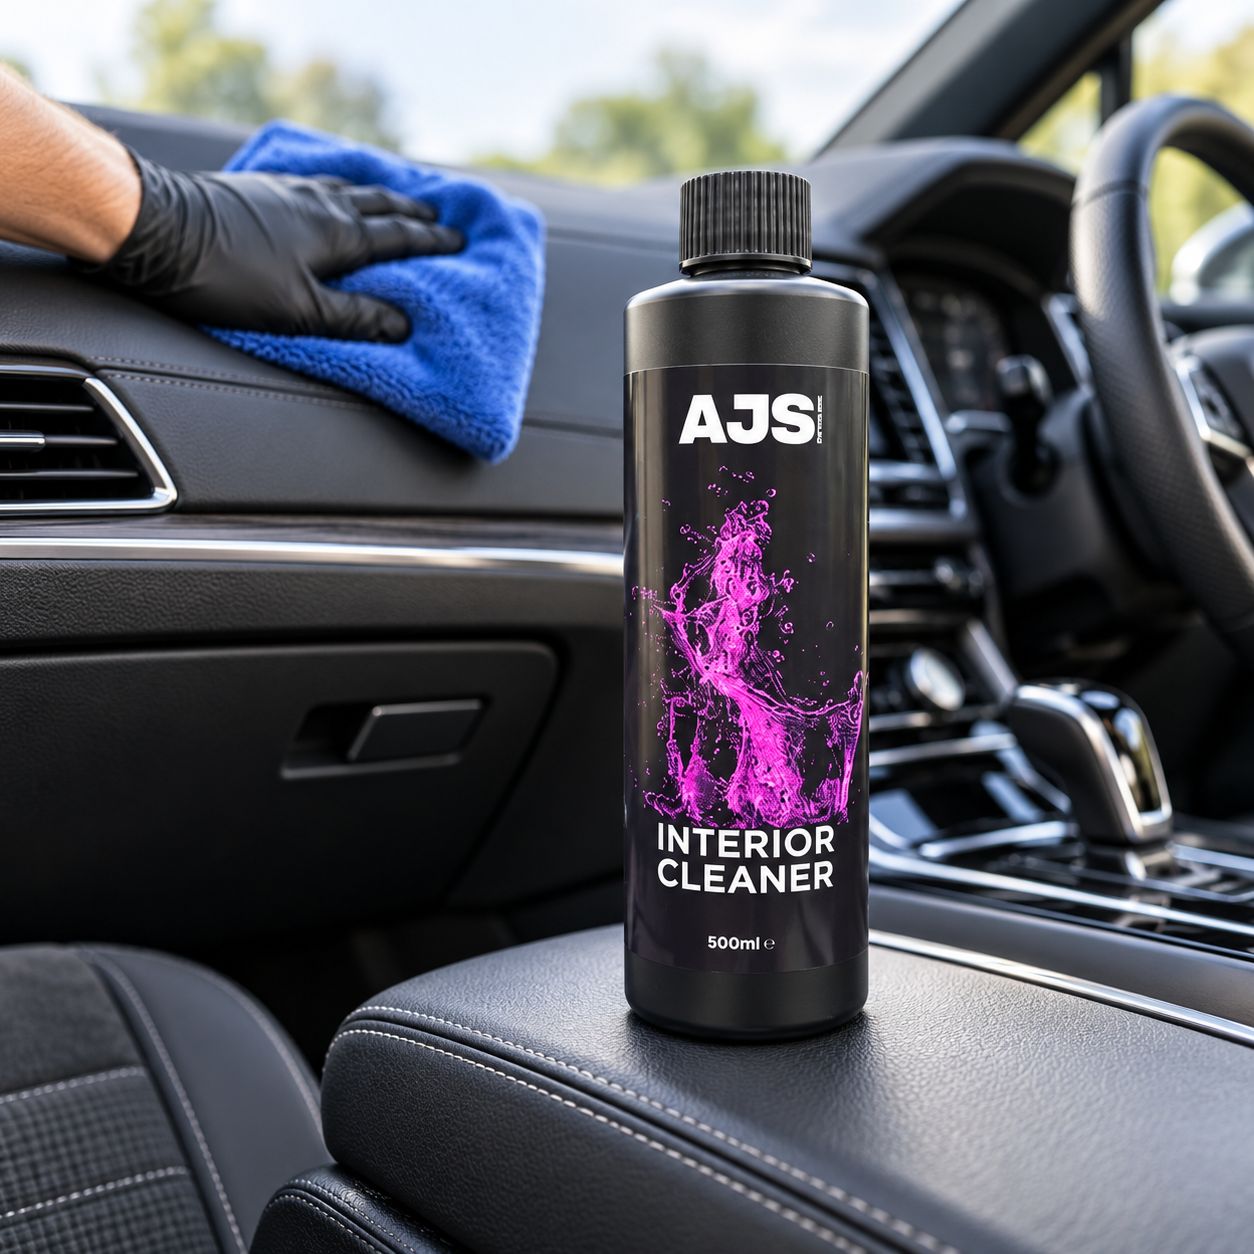
Interior Cleaner removes everyday dirt, grease and grime from suitable cabin surfaces without greasy residue. The listing includes upholstery, plastics, vinyl, leatherette and trim. Test a hidden area, apply lightly and wipe away residue. A dressing changes the finish after cleaning; it cannot replace dirt removal.
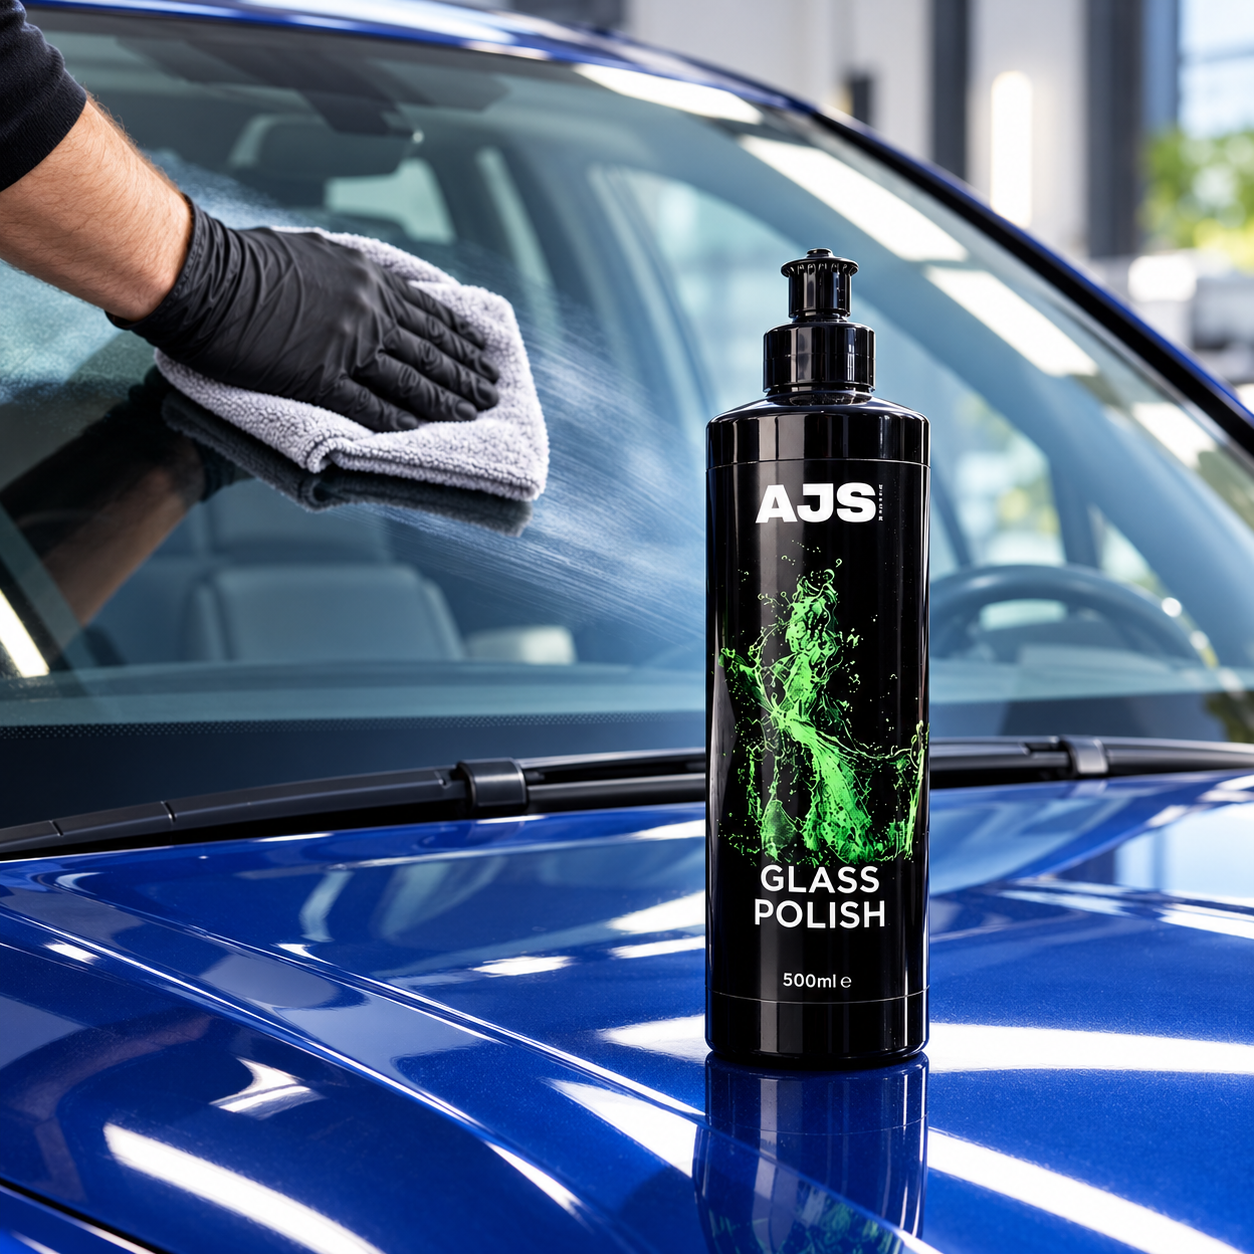
Use material specific care where required. Finish glass with a suitable cleaner and fresh cloths, keeping coated and tinted surfaces in mind. Let wet materials dry before refitting mats. Keep pedals, steering wheel and controls free from slippery treatments.
Your final check
- No product residue left on paint, glass or trim.
- Clear windows and mirrors, with no smears affecting visibility.
- Dry mats secured correctly and nothing obstructing pedals.
- Tyre dressing cured, with tread and brakes untouched.
The right order saves repeating jobs. The right stopping point matters just as much: clean safely, inspect honestly and add treatments for a reason.